
Best Practices and Turnaround Times
Best Practices for Volume Photography
Great Extractions
Getting great extractions starts with image capture. Good exposure and contrast, sharp focus, and deep depth of field are important for the design team to find the edges of your image and not lose subtle flyaways and details.

We can extract your images off of any background you choose however attention should be placed on image quality for the best results. See below for our recomendations:
SOLID BACKGROUND
If you intend to use the feet of your athletes for full length images a floor that matches your background color should be used and should not have a break between the background and floor.
The background should not have any shadow from the subject and be clean white.
ENVIRONMENTAL BACKGROUNDS
Ensure there is sufficient contrast between the subject and the background.
Position your subjects a good distance away from the background.
Steer clear of busy or patterned backgrounds.
PROPER EXPOSURE
Properly exposed images where there is separation between the background and subject without underexposing or overexposing the background.
DEPTH OF FIELD
An F-Stop of F/8 or above so that focus carries all the way through from front to back.
SHARP FOCUS
Utilize the autofocus on your camera to maintain consistently sharp results. Many newer cameras also have face and eye detection that will help for even better focus.
FEET PLACEMENT CHARTS
If you plan to use feet placement charts, make sure you use one that is the same color as your background of choice. Bright-colored mats that contrast with the background color eliminate the ease of extraction that comes from a single-colored background and floor.
The color should flow seamlessly from the floor to the background; make sure there are no gaps.
A related matter is the athlete’s feet themselves. Take a minute to make sure you don’t block their feet with a lumpy train or floor.
IMAGE COLOR PROFILE
Images should be in the SRGB color space when submitting.
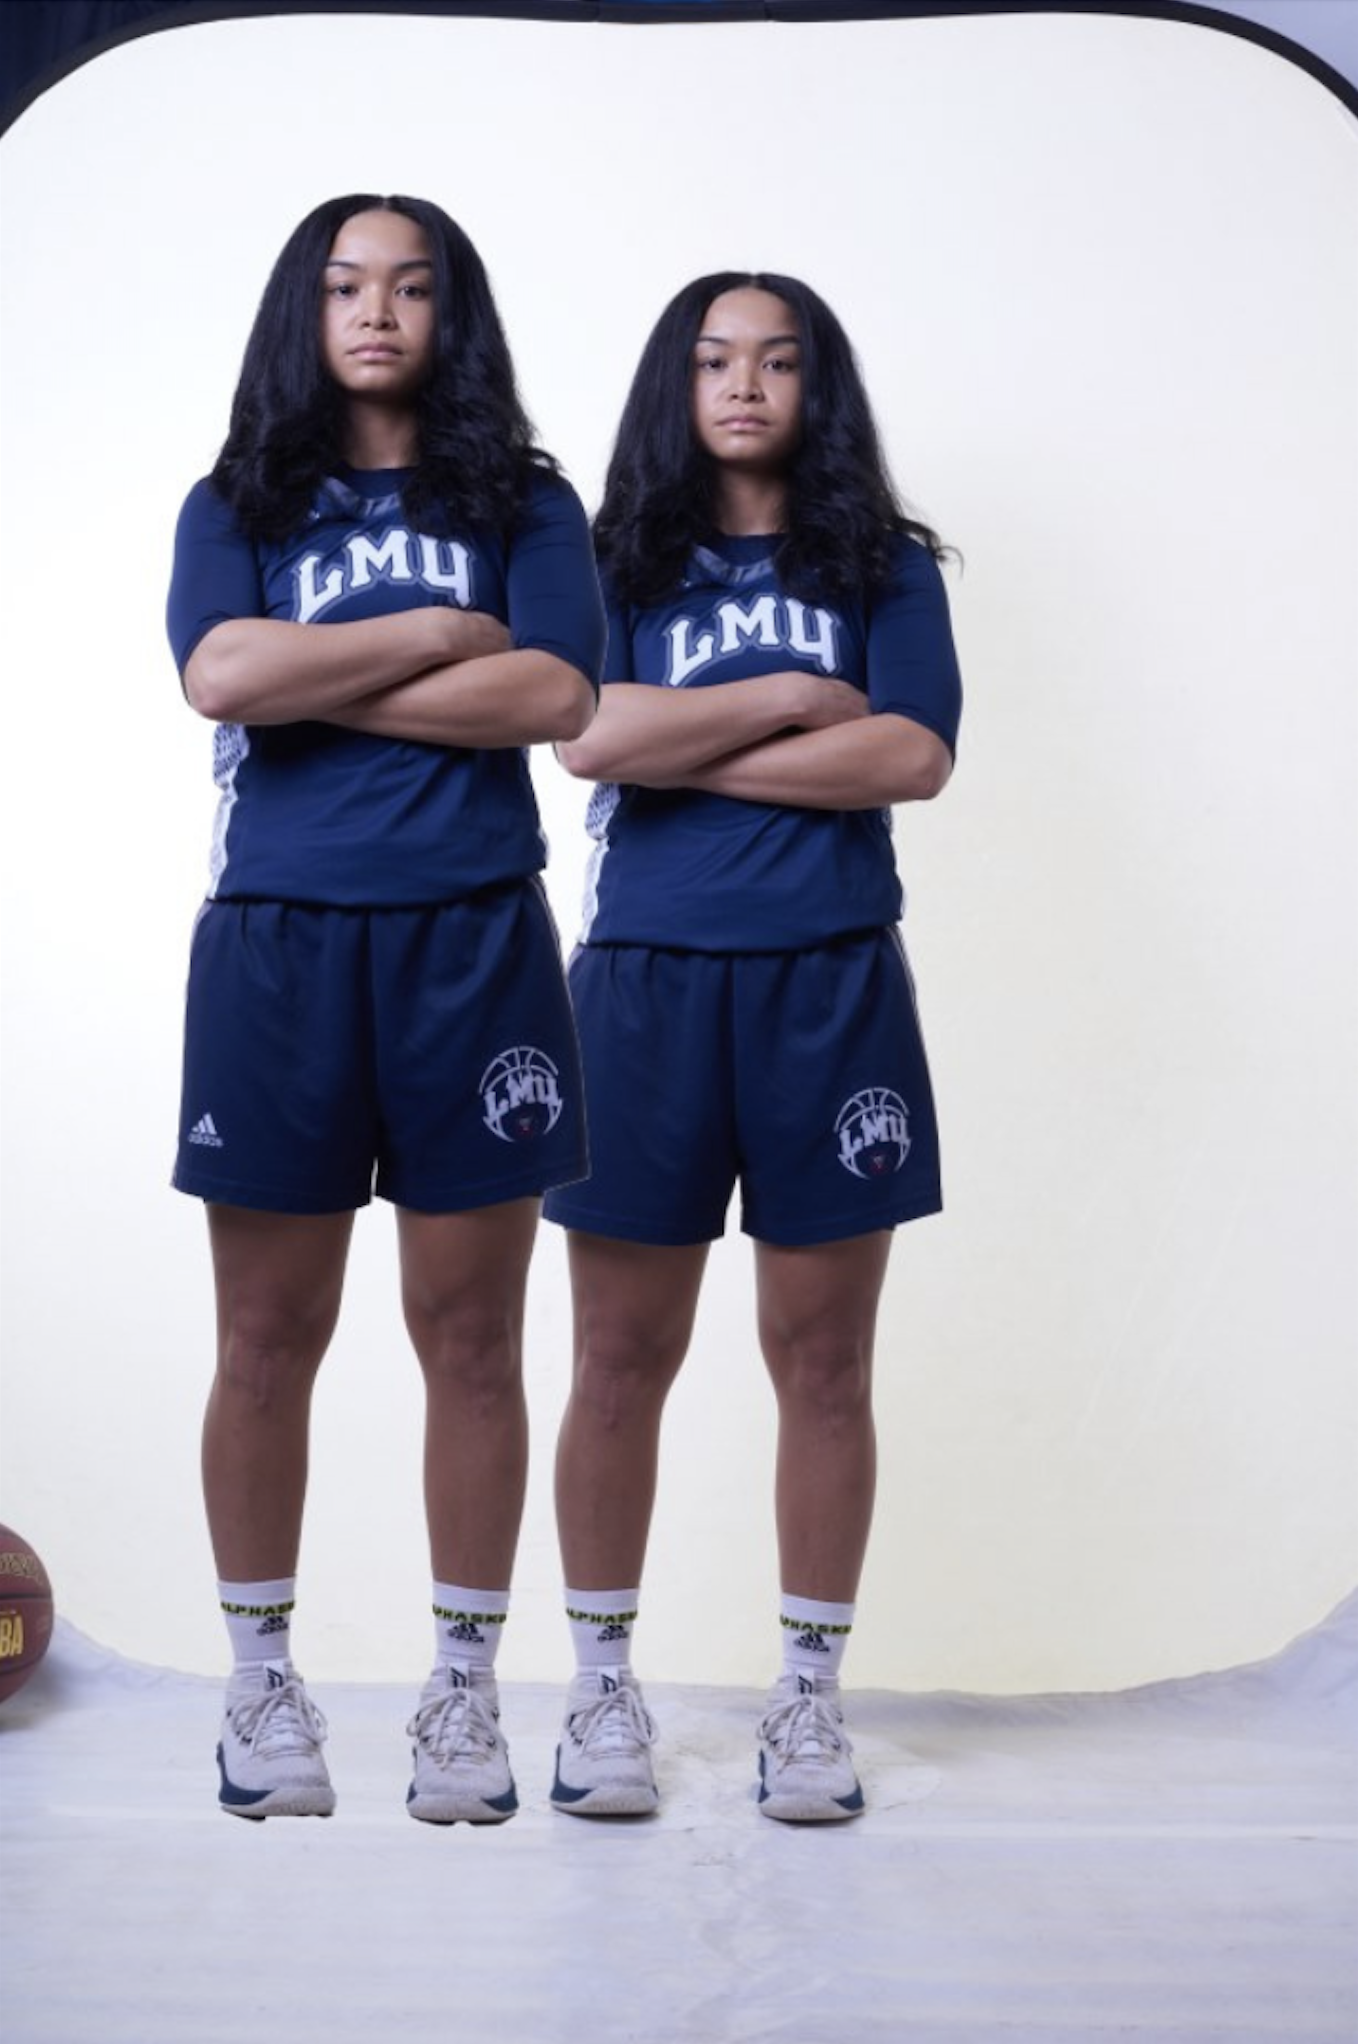
Consistent Scaling and Lighting in Virtual Groups
Sometimes it may be hard for a viewer to describe, but everyone can tell when a virtual group's scaling or lighting is incorrect. Luckily, it’s very easy to ensure that the final results of your group images are spot-on with proper lighting, scaling, and perspective.

We require the following for lighting and scaling:
TRIPOD
Locking down your camera on a tripod not only ensures that your camera doesn't move between images, but it also makes your shooting station simple and requires less manual work.
NO ZOOMING
We recommend a fixed 50 mm lens, but the alternative is zooming your telephoto lens to 50 mm and placing a piece of tape on the lens to prevent zooming in and out between images.
Shoot everything full-length and let the design team crop as needed.
HIT THE MARK
Frame up your background and set the camera for the tallest subject you expect so you don’t have to move the camera during shooting.
When every athlete hits a well-defined mark on the floor, you can be sure that the distance from camera to subject stays the same. This consistency will ensure everyone is the correct size in the final team image.
As with foot placement charts, the mark(s) on the floor should be the same hue as the background color you choose to shoot on.
It’s good practice to measure the distance from your backdrop to the tripod and the height of the tripod to ensure that photos from makeup days will be properly scaled with the originals.
CONSISTENT LIGHTING
Use a light meter to ensure your subject and background are properly exposed.
If you don’t plan to use our color correction service, it’s best to create a custom white balance so that your color is accurate in camera.
Once you’ve chosen your lighting setup for a specific team, keep that setup the same throughout all the photographs.
Take note of where your light is positioned and its height for a repeatable setup every time.
Even if you do a makeup day, make sure you’re staying consistent each time you set up. Changing modifiers or light direction will throw off the final image by causing a visual break between athletes.
If you’re using more than one photography station, make sure all the players from specific teams are assigned to one station and you’re not blending players from the same team across stations.
Individual Posing for Product Graphics
Just as scaling is important for your team individuals, your posing for individuals is also very important. Even though we use face detection for centering and all graphics go through quality control, individual graphics like memory mates are created through an automated process that requires posing to be balanced and controlled.
We recommend the following best practices for posing:
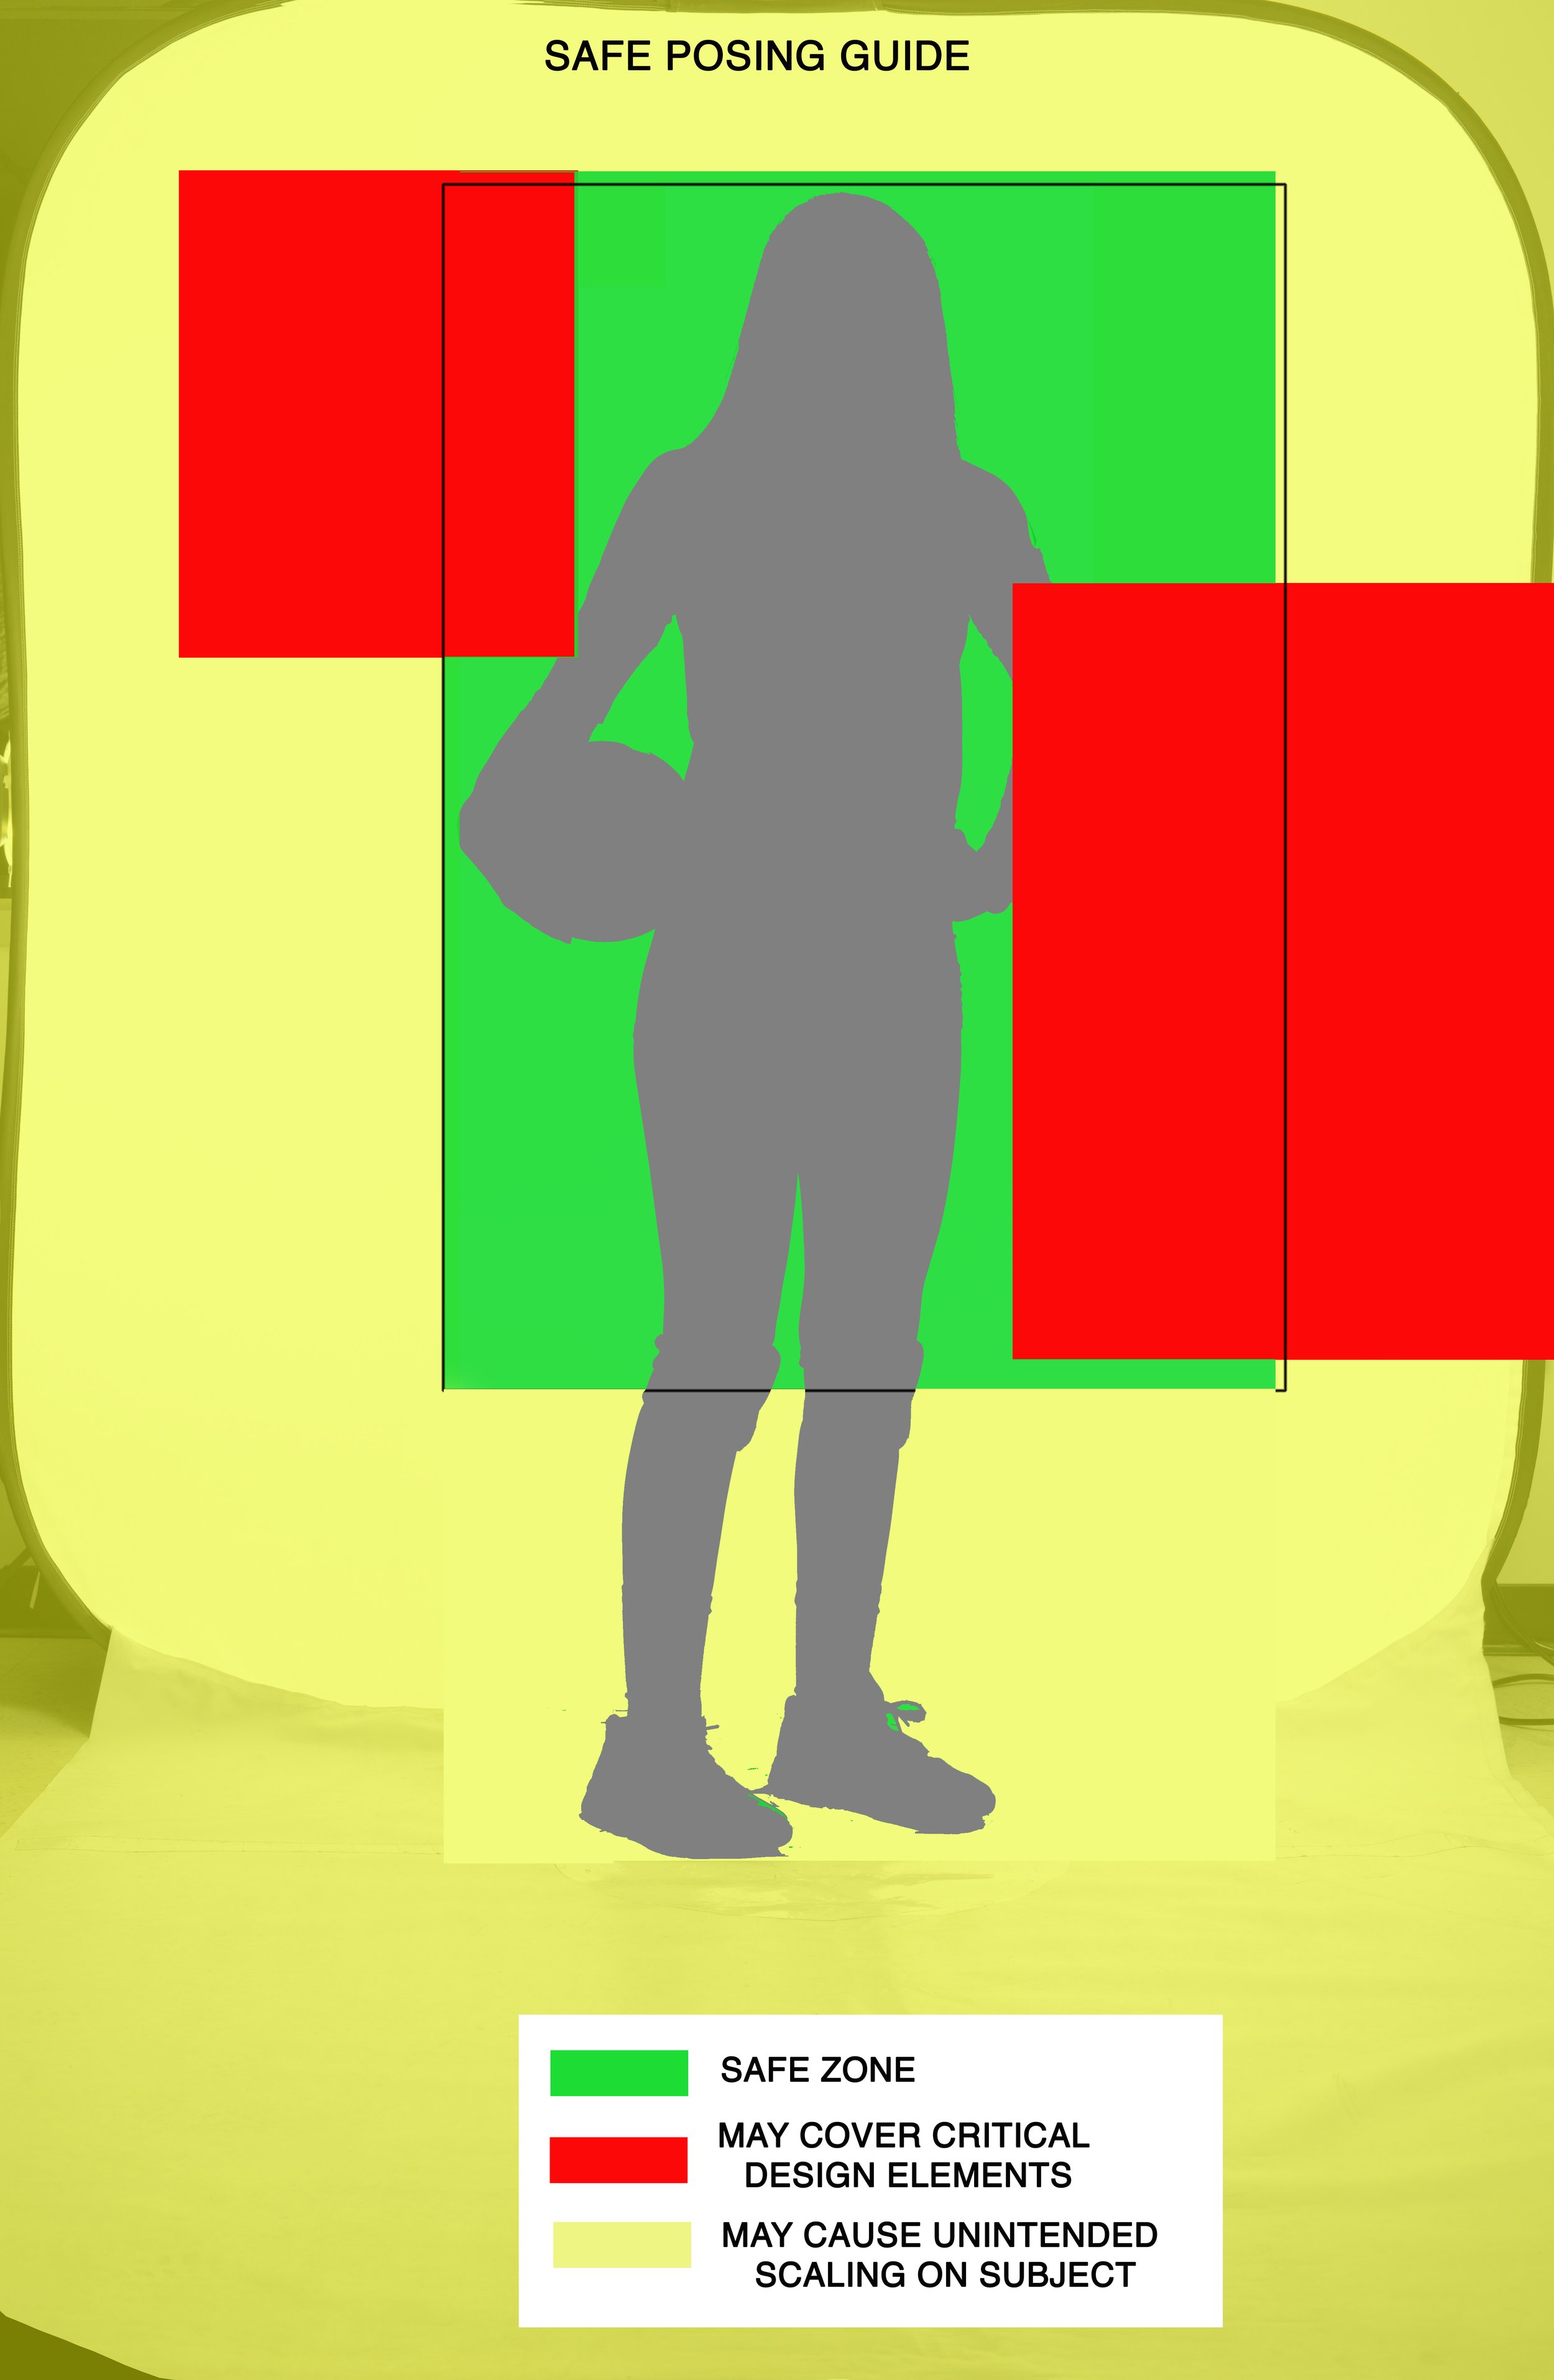
BALANCED POSING
If you were to make a line from pixel edge to pixel edge on your image, the best practice is to have your subject’s face in the center. An unbalanced pose will result in an off-center crop on your final image.
CONSIDER FULL-LENGTH OR THREE-QUARTER
Next Gen offers designs that are cropped either full-length or three-quarter, and these crops will determine what poses will look best in the final graphic. For this reason, you should decide which crop you will choose before photographing the job to ensure that your subjects hit poses you know will work best in the final image.
KNOW YOUR PRODUCTS
Knowing the products that you intend to sell will also help you decide what poses to have your subjects do. Some poses just don’t look right on certain products, so it’s best to avoid these when possible.
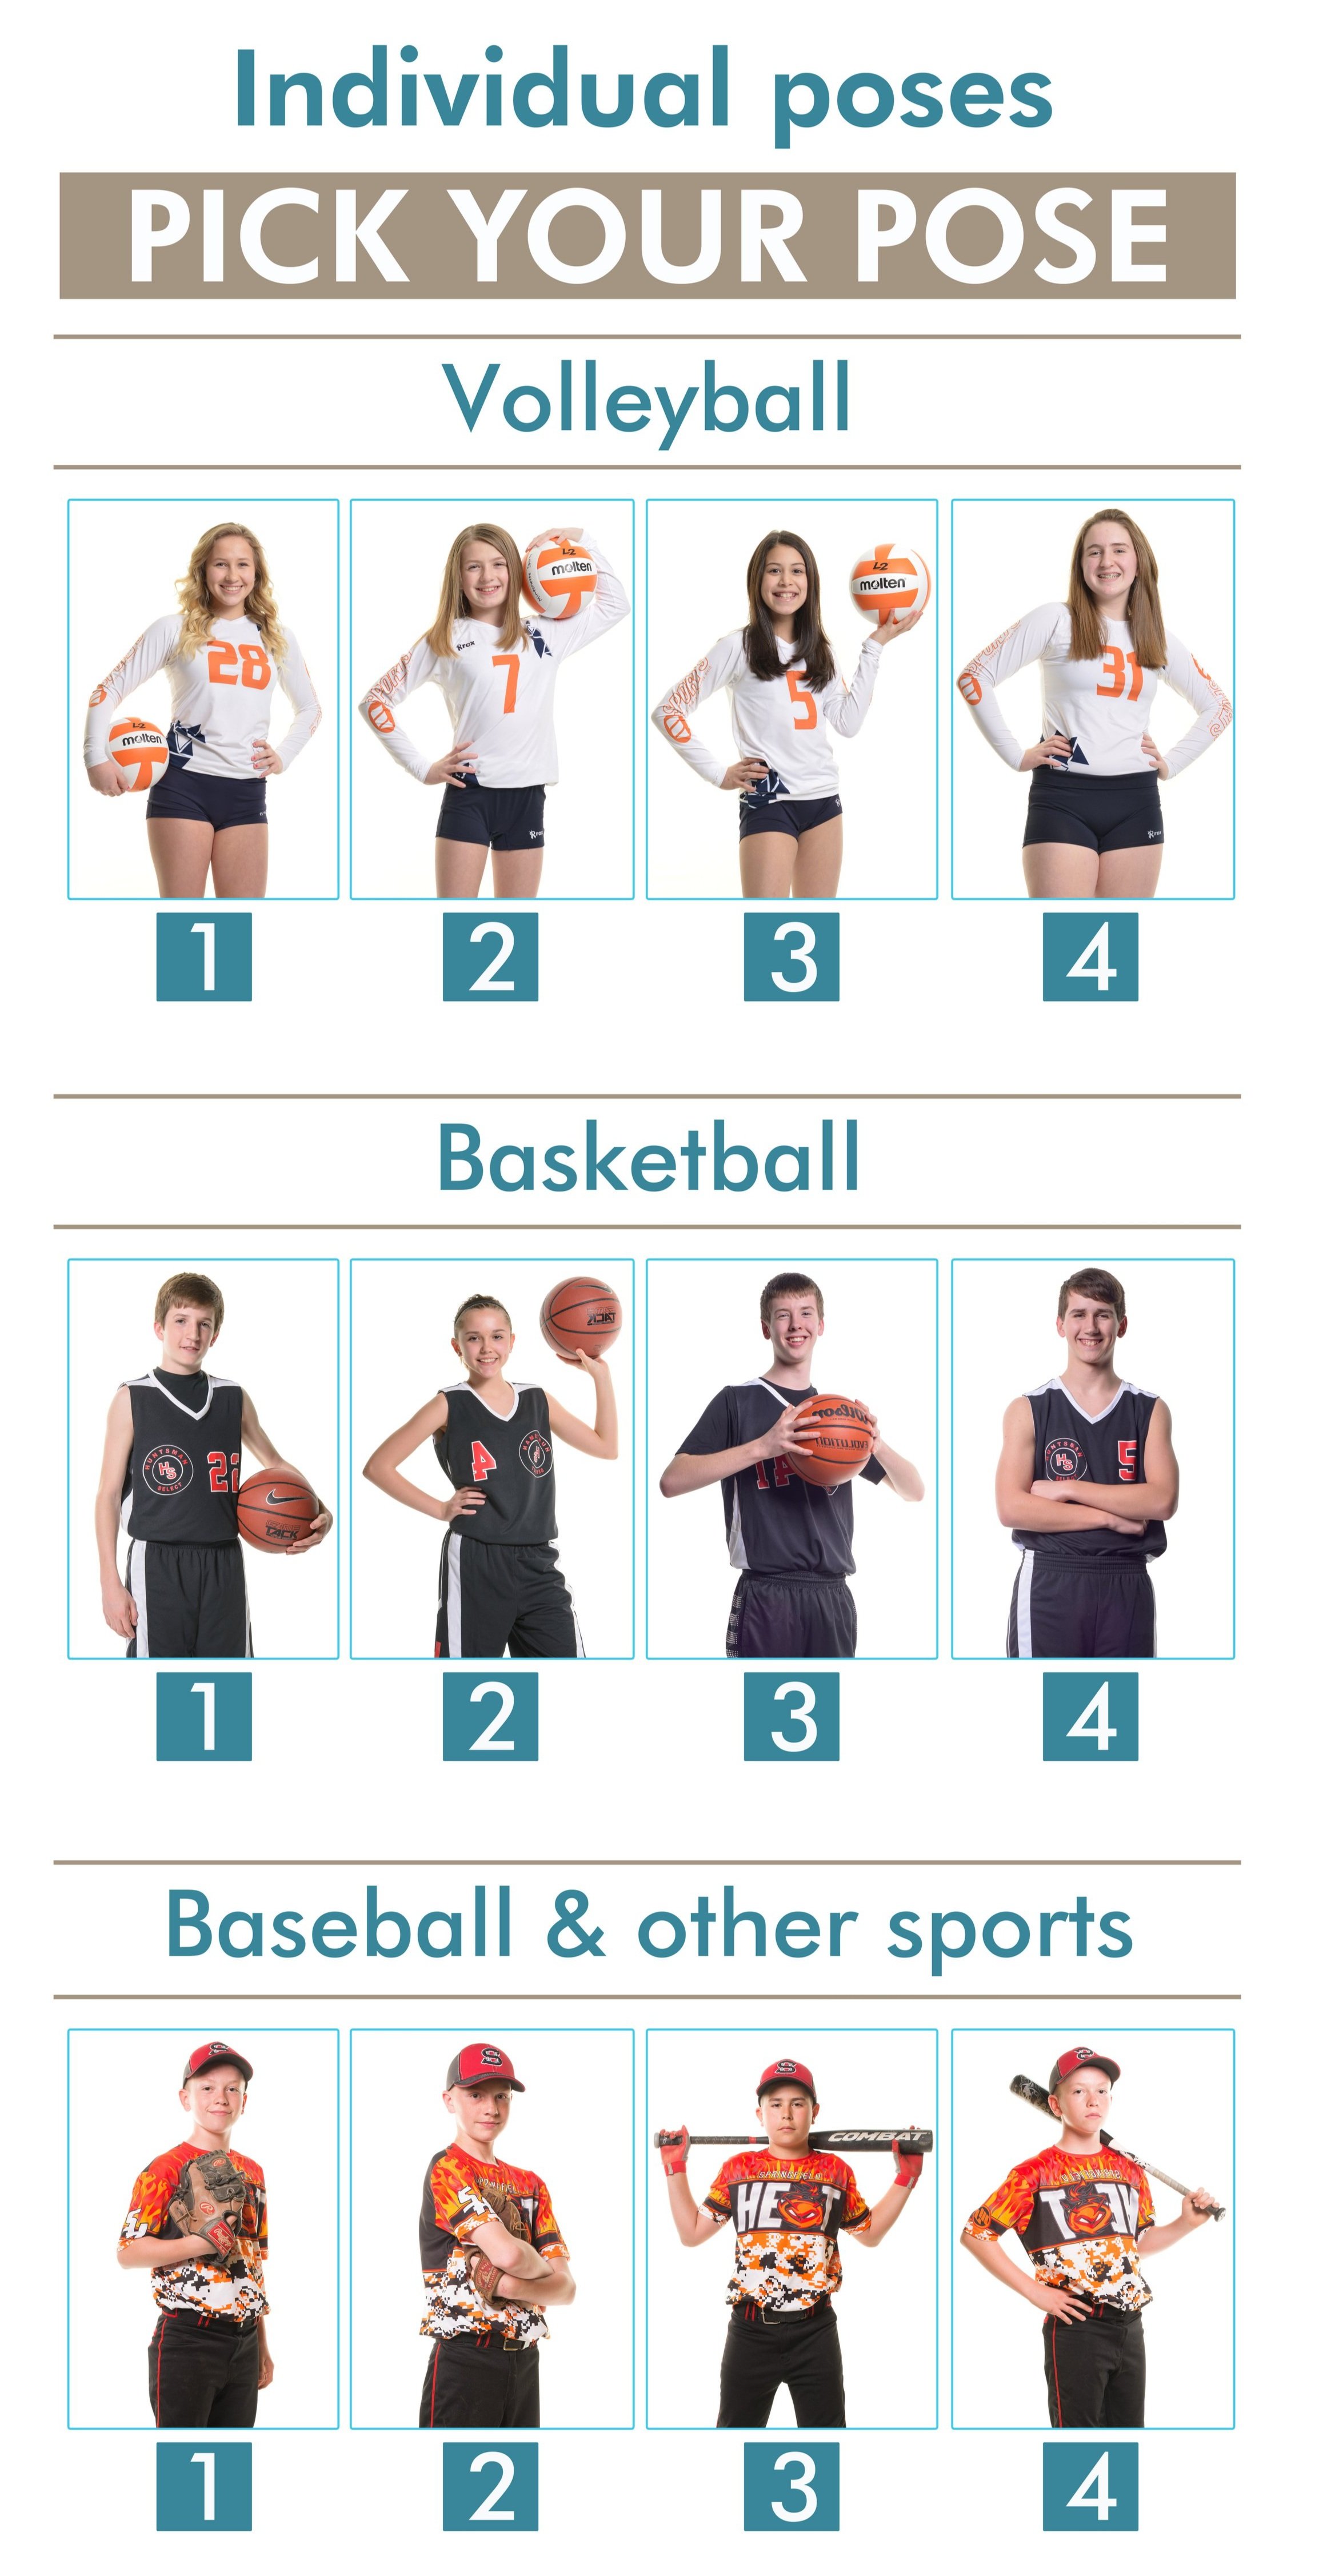
PICK A POSE
We highly recommend using pick-a-pose-boards, which are simply a print displayed at your shoot that gives subjects options for poses. Since these poses are chosen by you and only include poses you know will work on your graphics and products, you’ll have the ability to give the customer the choice of a pose they like while at the same time controlling the quality of the final output.
SQUARE UP
All cameras have an in-camera bubble level. Once you’re set up it’s a good idea to turn this on momentarily to make sure your camera is not crooked. This will save you from having to straighten each image prior to uploading for editing.
VOLUME Turnaround Times
The easiest way to help ensure that your job gets finished within these time frames is to follow the best practices outlined above. When photographs are not shot, scaled, or posed correctly, our graphic design team must spend extra time to ensure that the final product comes out per Next Gen’s quality standards.
Note: Adding extras (drop shadow, reflection, color correction, or retouching) adds 24 hours to turnaround.

The following turnaround times are estimates for our volume workflow. The days to count include business days only, excluding weekends and holidays.